Omarchy 2.0 - LazyVim - LazyExtras
Continuing my series of tips about Omarchy, I decided to write about LazyVim, which comes pre-installed.
Even if you don’t use Omarchy, I recommend installing LazyVim. Just do this:
# required
mv ~/.config/nvim{,.bak}
# optional but recommended
mv ~/.local/share/nvim{,.bak}
mv ~/.local/state/nvim{,.bak}
mv ~/.cache/nvim{,.bak}
git clone https://github.com/LazyVim/starter ~/.config/nvim
rm -rf ~/.config/nvim/.git
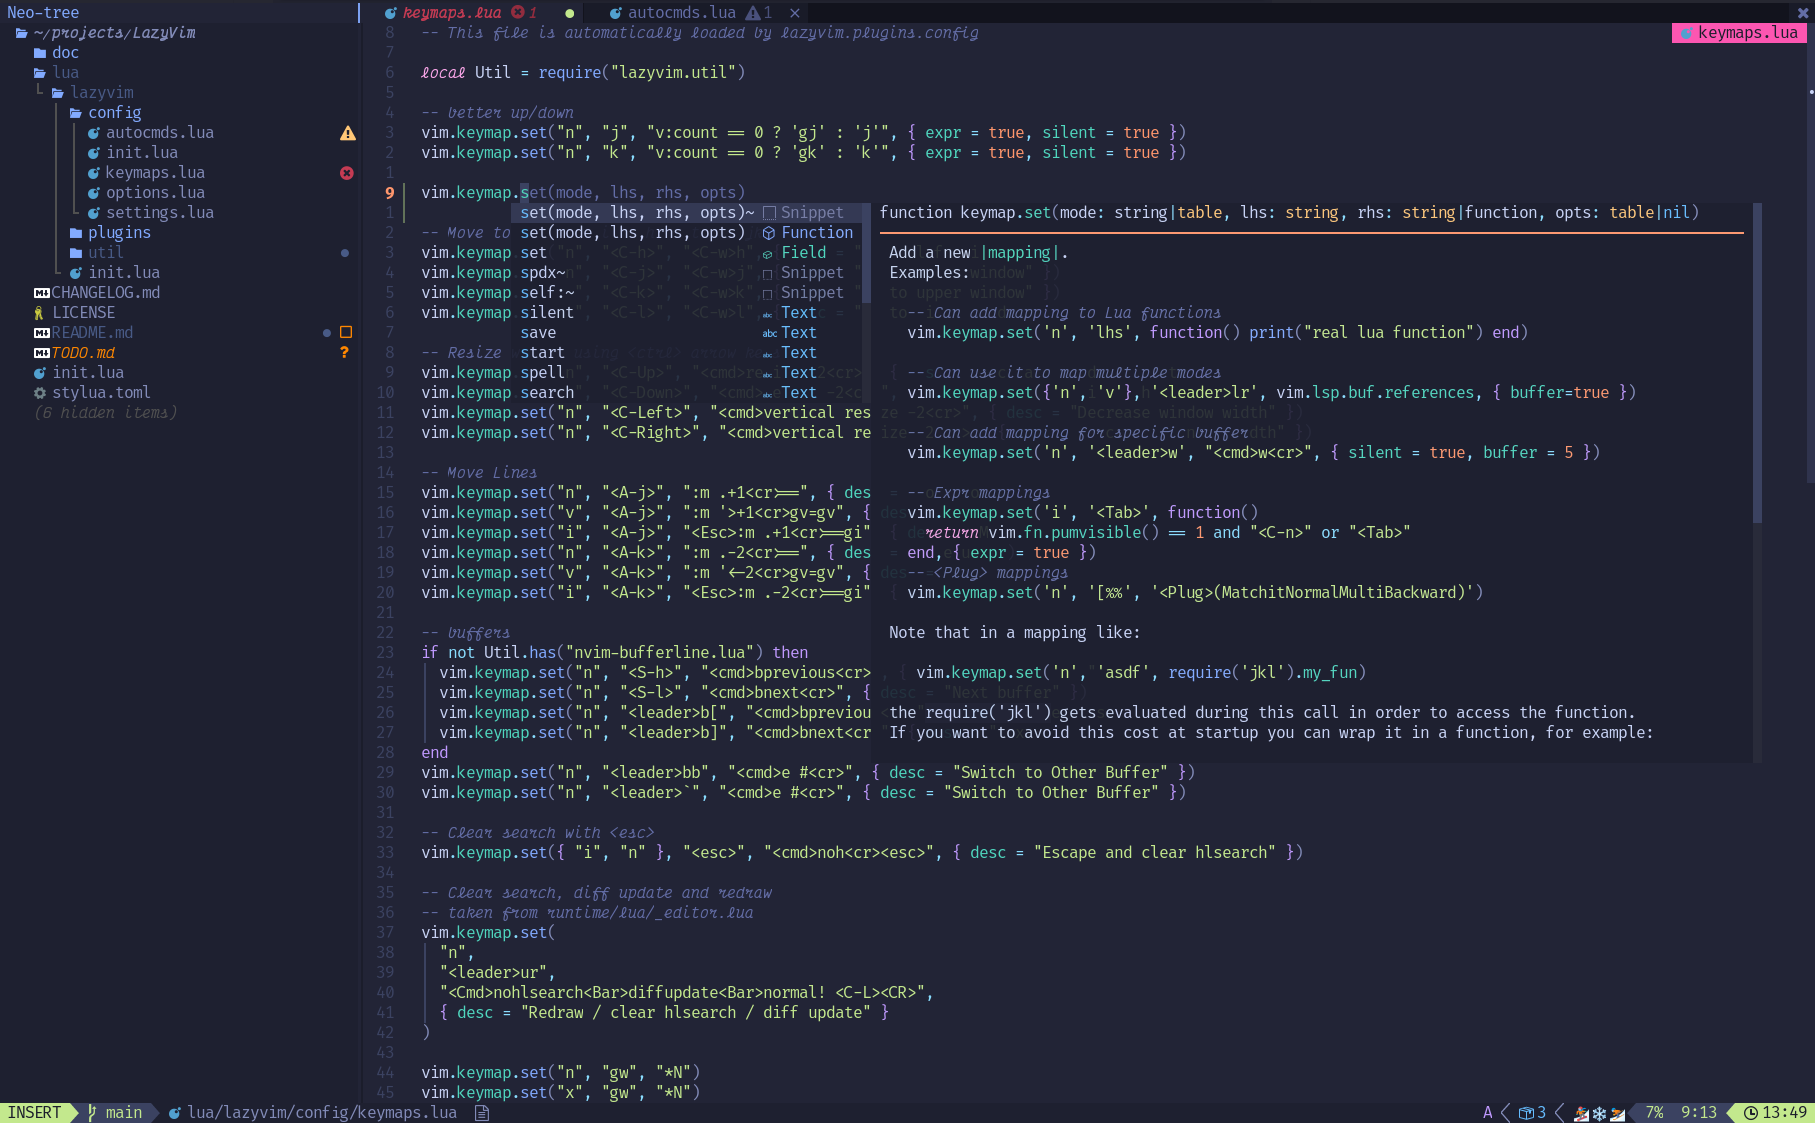
nvimThat’s it. For those who don’t know, NeoVim is a more modern fork of the old Vim (hence the command is nvim, leaving vim reserved for the old one). It replaces the old VimScript with Lua scripts and has many optimizations and better quality-of-life features. These days, there’s no reason to keep using old Vim.
Using Lua, you can configure Nvim any way you want. But configuring everything from scratch is a lot of work. It’s a good exercise, but practically speaking, it’s not worth it day to day. Better to install a pre-configured setup like the old LunarVim, which I used before and even recommended in some Linux videos on my channel, or AstroNvim, or LazyVim, which is currently my favorite. Any of them is a good start and it comes down to personal preference.
Each plugin they install has many features and its own key combinations (hotkeys) that you need to read in the documentation to know what does what. I recommend going to the plugins section of the official site and reading them one by one. There’s a lot of stuff you wouldn’t even expect, and all of it is very useful.
LazyVim on its own already helps a lot because it opens pop-ups documenting some of the hotkeys. For example, what’s called the Leader command in LazyVim is the “space bar”. When you press it, this context menu appears:
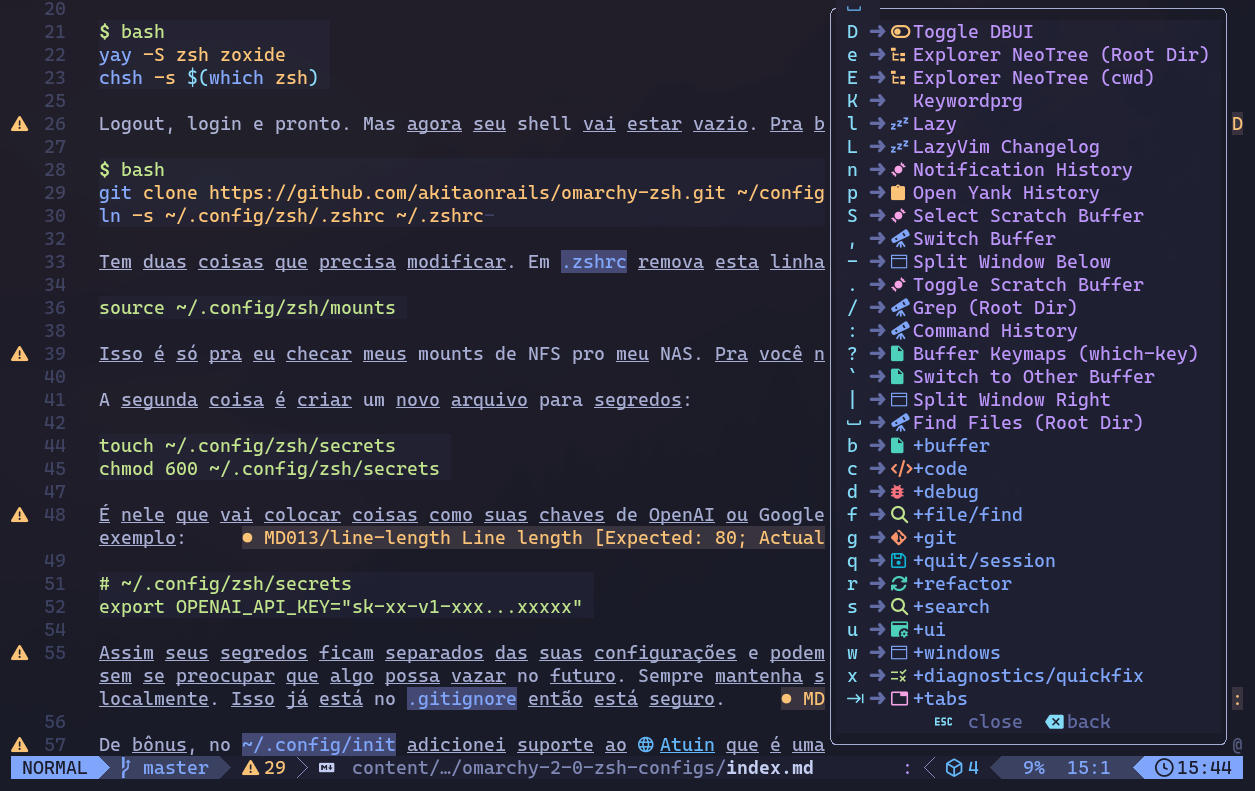
From here, if you type, say, “b”, another context menu shows up:
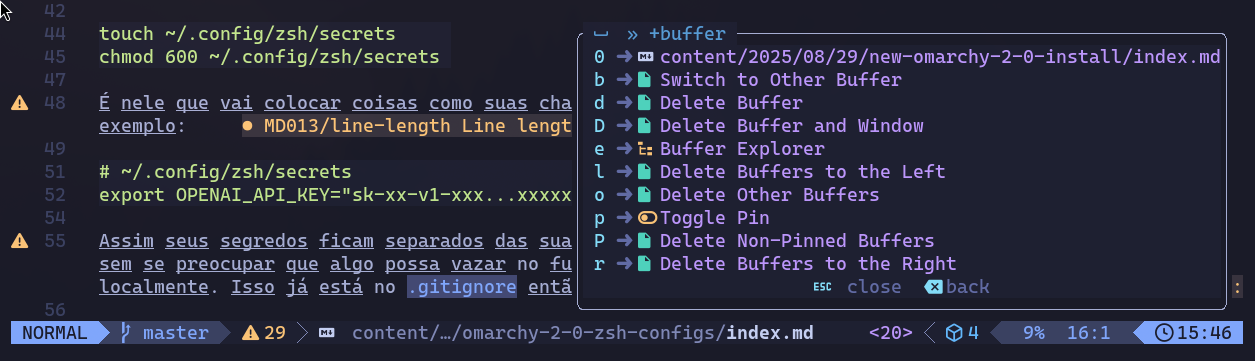
And if you type “b” again, it switches to the next file already open in the Buffer. Buffer is the Vim name for where already-opened files live. Deleting from the Buffer is the equivalent of “closing the file”.
Next time, you won’t need to look at the menus. Just type quickly in one go: “Space+b+b”. That’s how you memorize the commands you use the most.
Some commands worth learning right away: Space+Space (twice), which opens the menu for opening files. Type a few letters of the file name and it filters dynamically:

Or “Space+e” to open the NeoTree Explorer. Type “?” to open a popup with the commands you can use to create new subdirectories or files within the subdirectory:
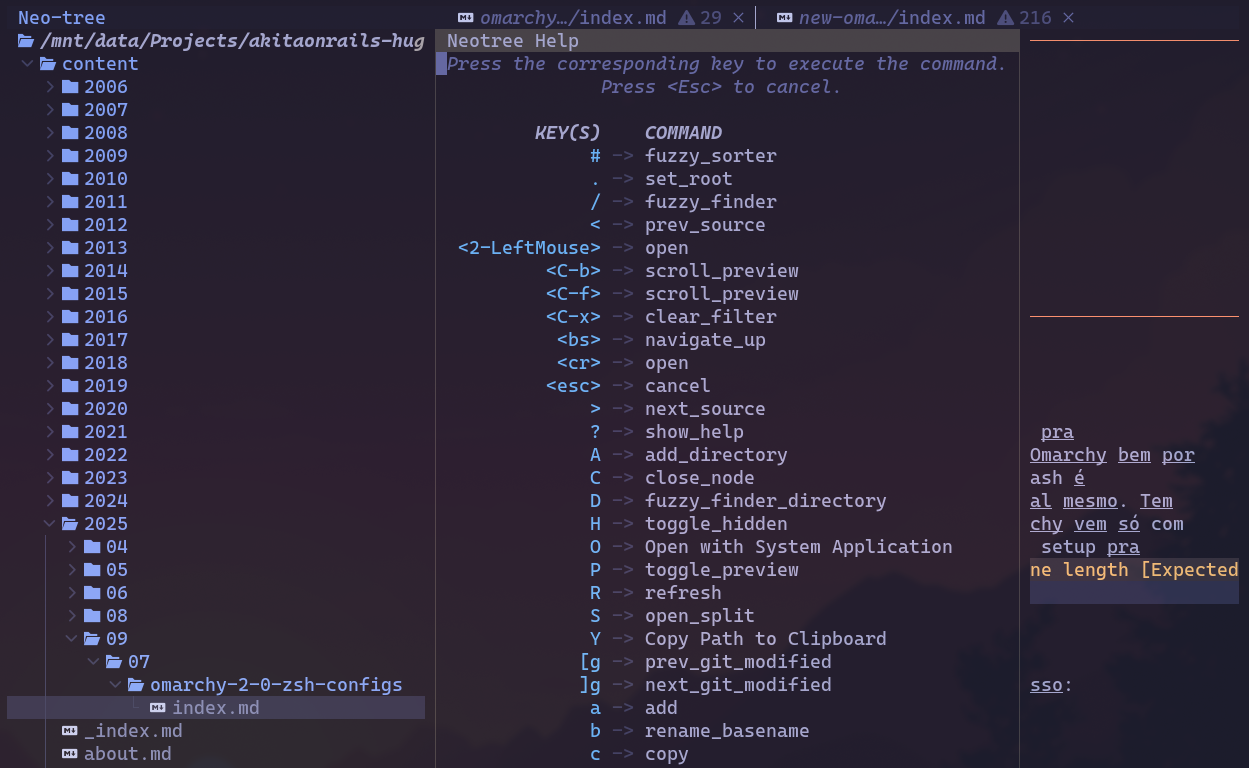
Once you learn the other commands and plugins, you’ll notice you don’t even need to open NeoTree. It’s more for when you want to explore visually. For day-to-day work, commands like “:e” should be enough. By the way, “:” (colon) is the command for executing NeoVim functions. For example “:q” is quit, “:w” is write, and “:wq” is write and quit at the same time.
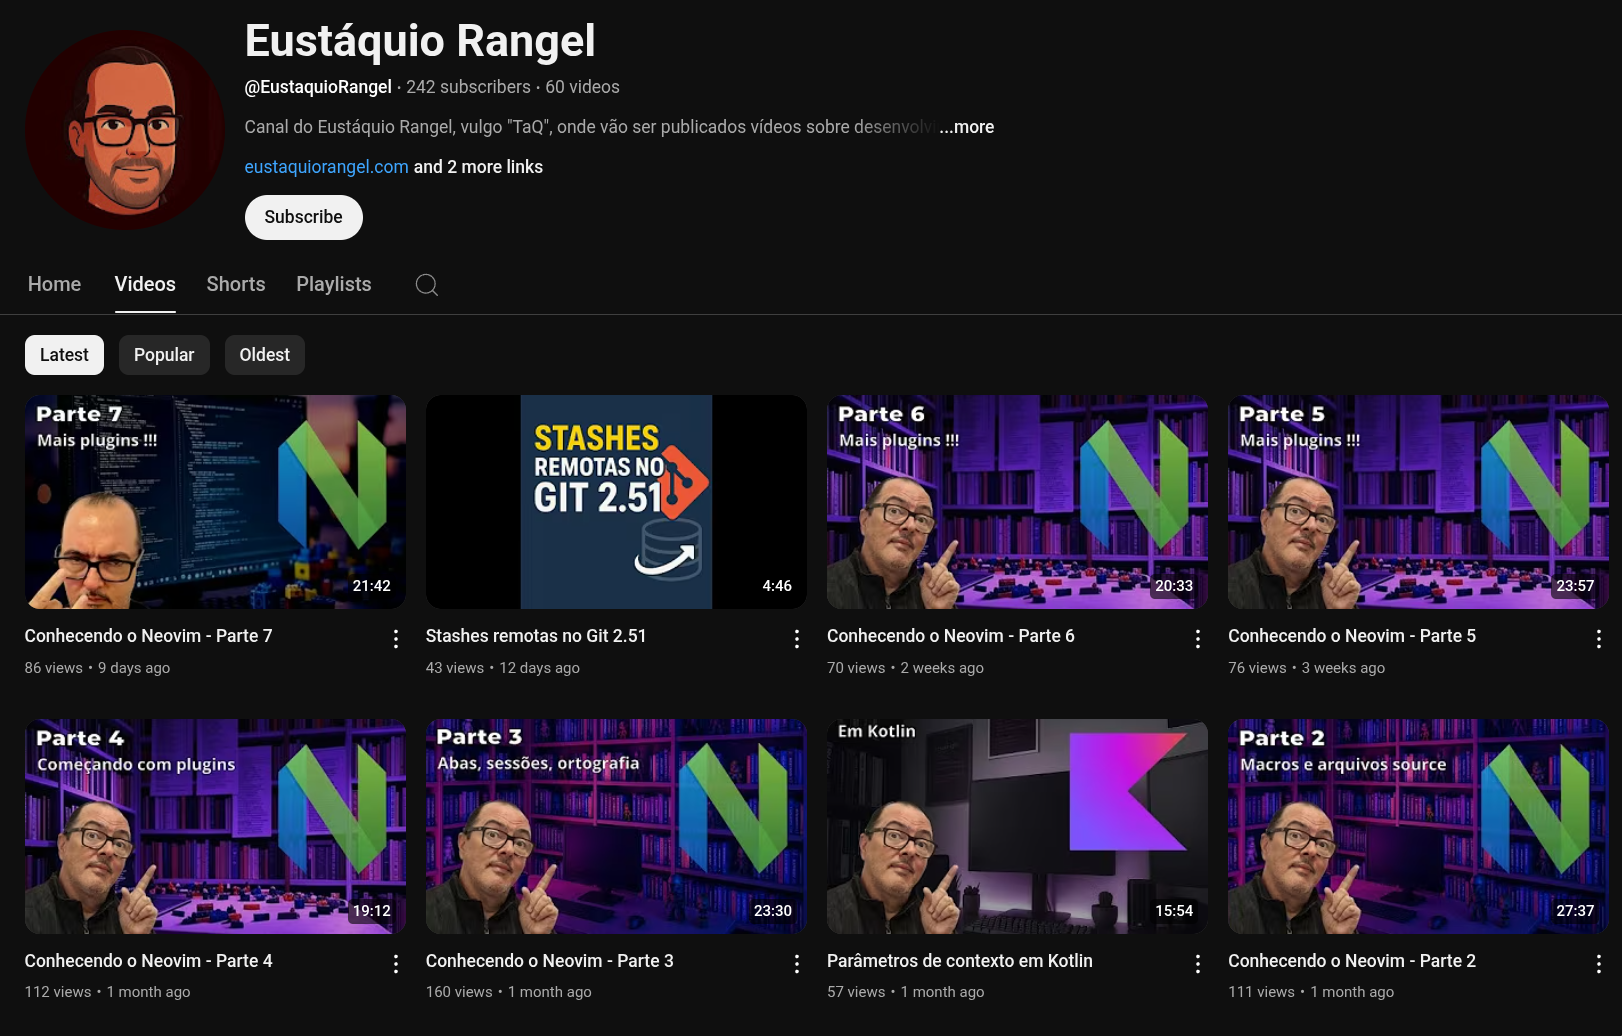
If you want to learn NeoVim more deeply, I recommend the YouTube channel of my friend Eustáquio Rangel, a Linux, Rails, and Vim veteran who teaches NeoVim from scratch (without LazyVim).
Now, let’s say you’ve already learned the basics of NeoVim and LazyVim, and now you want to start working on your PHP, Java, C#, Ruby, Python, or whatever projects. You’ll notice that LazyVim doesn’t have any functionality for any of them.
What do you do now? Install VS Code?? NO!!
That’s because you haven’t run :LazyExtras yet.
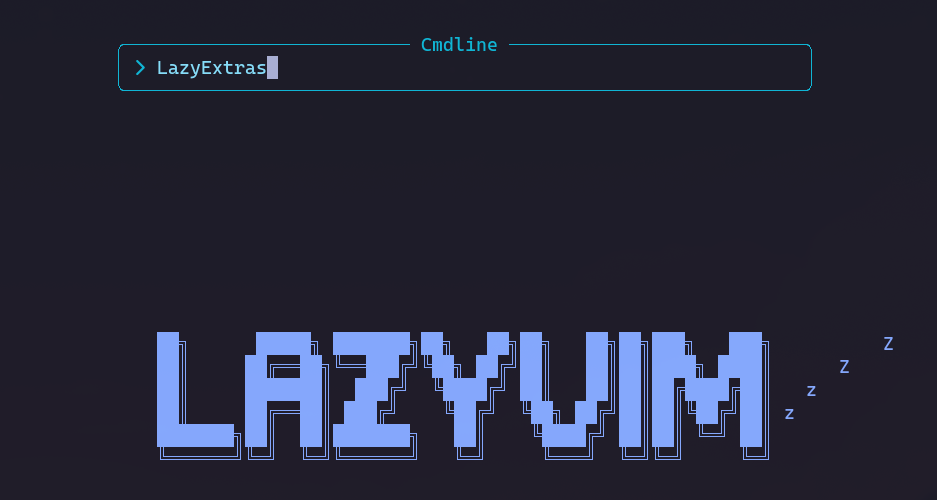
Type it exactly like that and watch this:
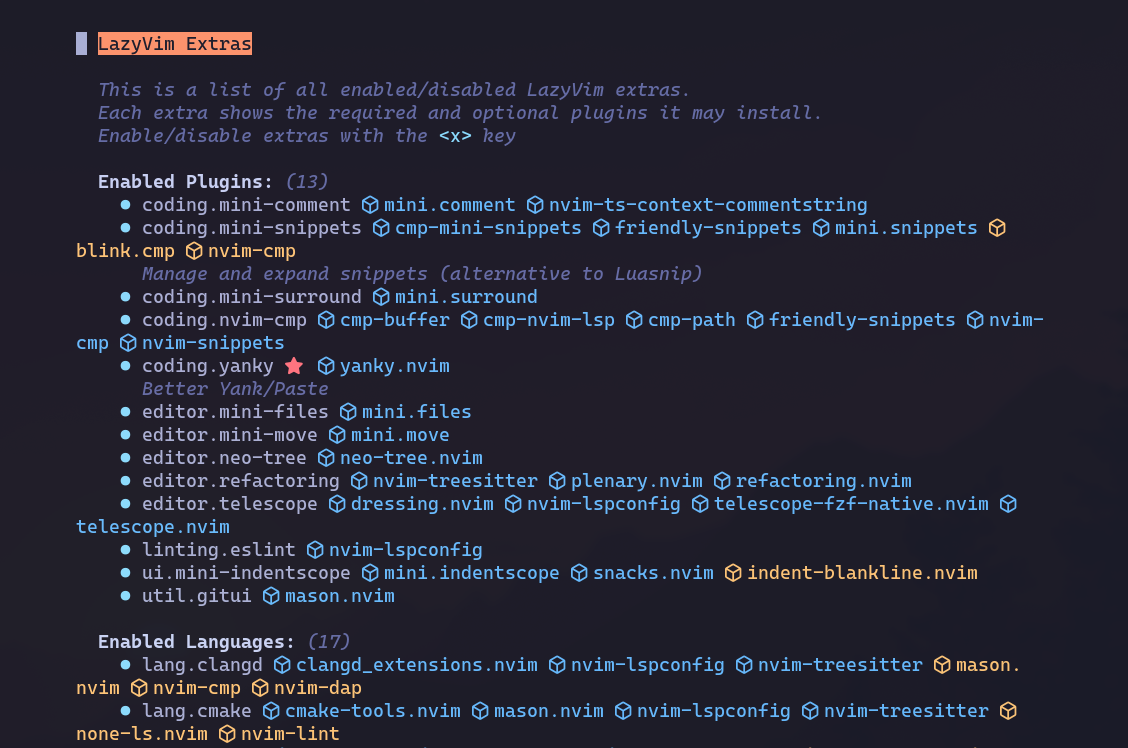
This window looks complicated but it’s just a list of plugins split into sections. At the top you see the plugins already installed and enabled. If you don’t want any of them, just use the arrows to move the cursor down to one of them and press “x” to unmark it. But leave that section as is. Let’s scroll down to the “Languages” section:
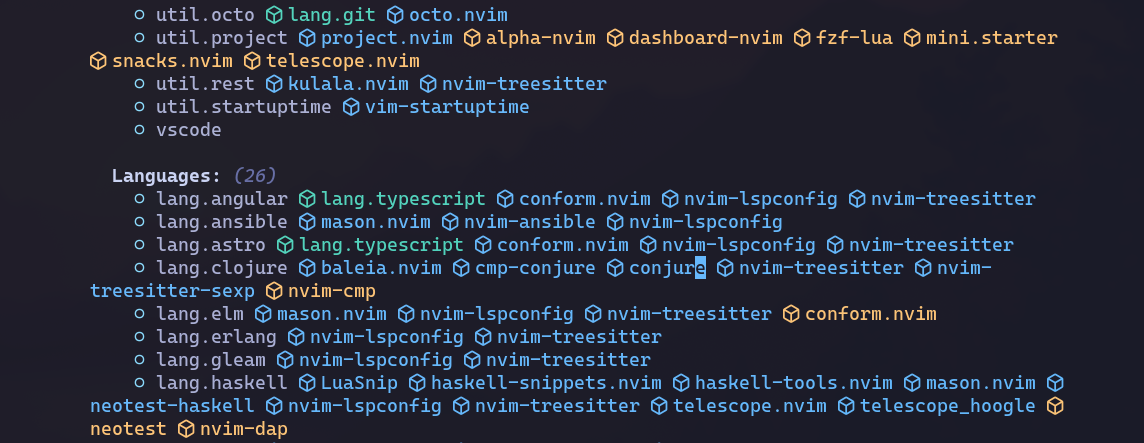
This is the section where all the languages you can enable support for live. Just scroll down with the arrows and mark with “x” which ones you want to install. And there’s everything: Angular, Vue, Erlang, Elixir, Rust, Zig, Haskell, and much more.
Next to each language is the group of individual plugins it will install. To know what each one does, type their names into Google and find the documentation page, where you’ll find hotkeys and extra configurations you can set.
With this you gain things like Linters, syntax highlighting, LSP, snippets, and much more.
And if you want to install additional plugins that aren’t listed, you can add them manually. Read the Adding Plugins section in the documentation.
LazyVim + LazyExtras covers 90% of everything you need for day-to-day software development. It’s lighter and faster than VS Code, uses way less memory, and will be much better especially on older machines. Don’t be lazy about learning Vim. A real programmer shouldn’t stick with VS Code just because they’re too lazy to learn a few extra hotkeys.