My First Vibe Code Failure and How I Fixed It | Frank Yomik
Before anyone asks, all the code is in this repository. And there are pre-built client binaries on the releases page. But the app alone isn’t enough because it needs the server component, which runs on a machine of yours (local or cloud) with a GPU of at least 16GB of VRAM, and that you need to configure — I’m not going to maintain a public server, just a personal one for my own private use.
–
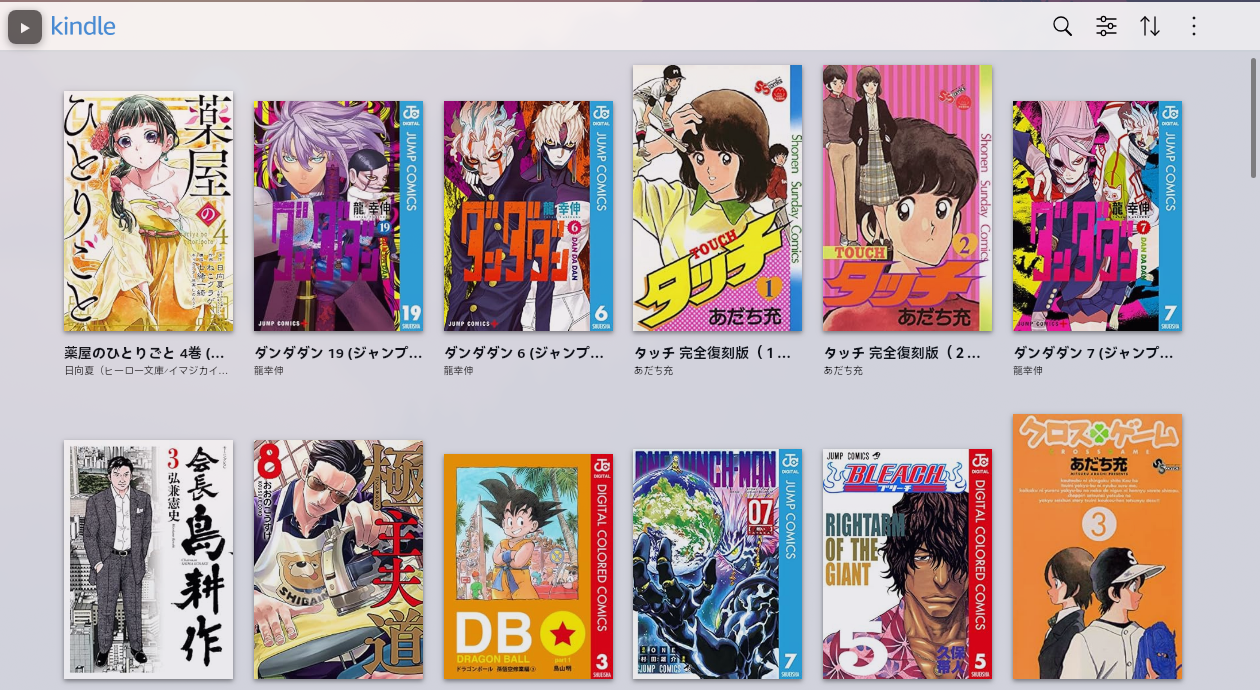
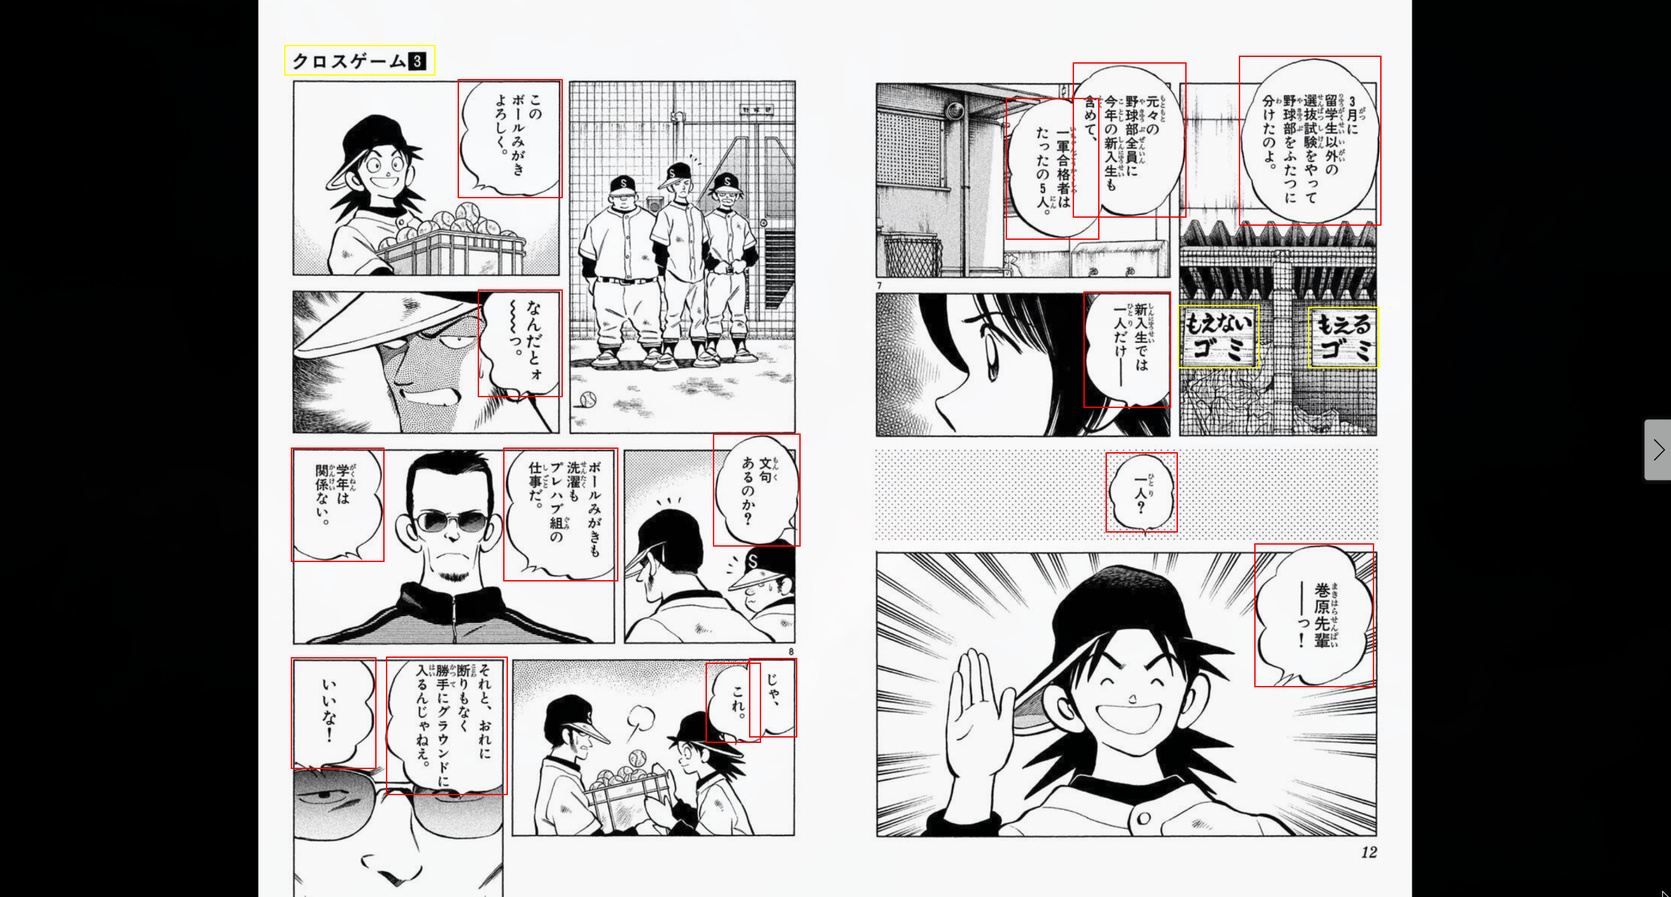
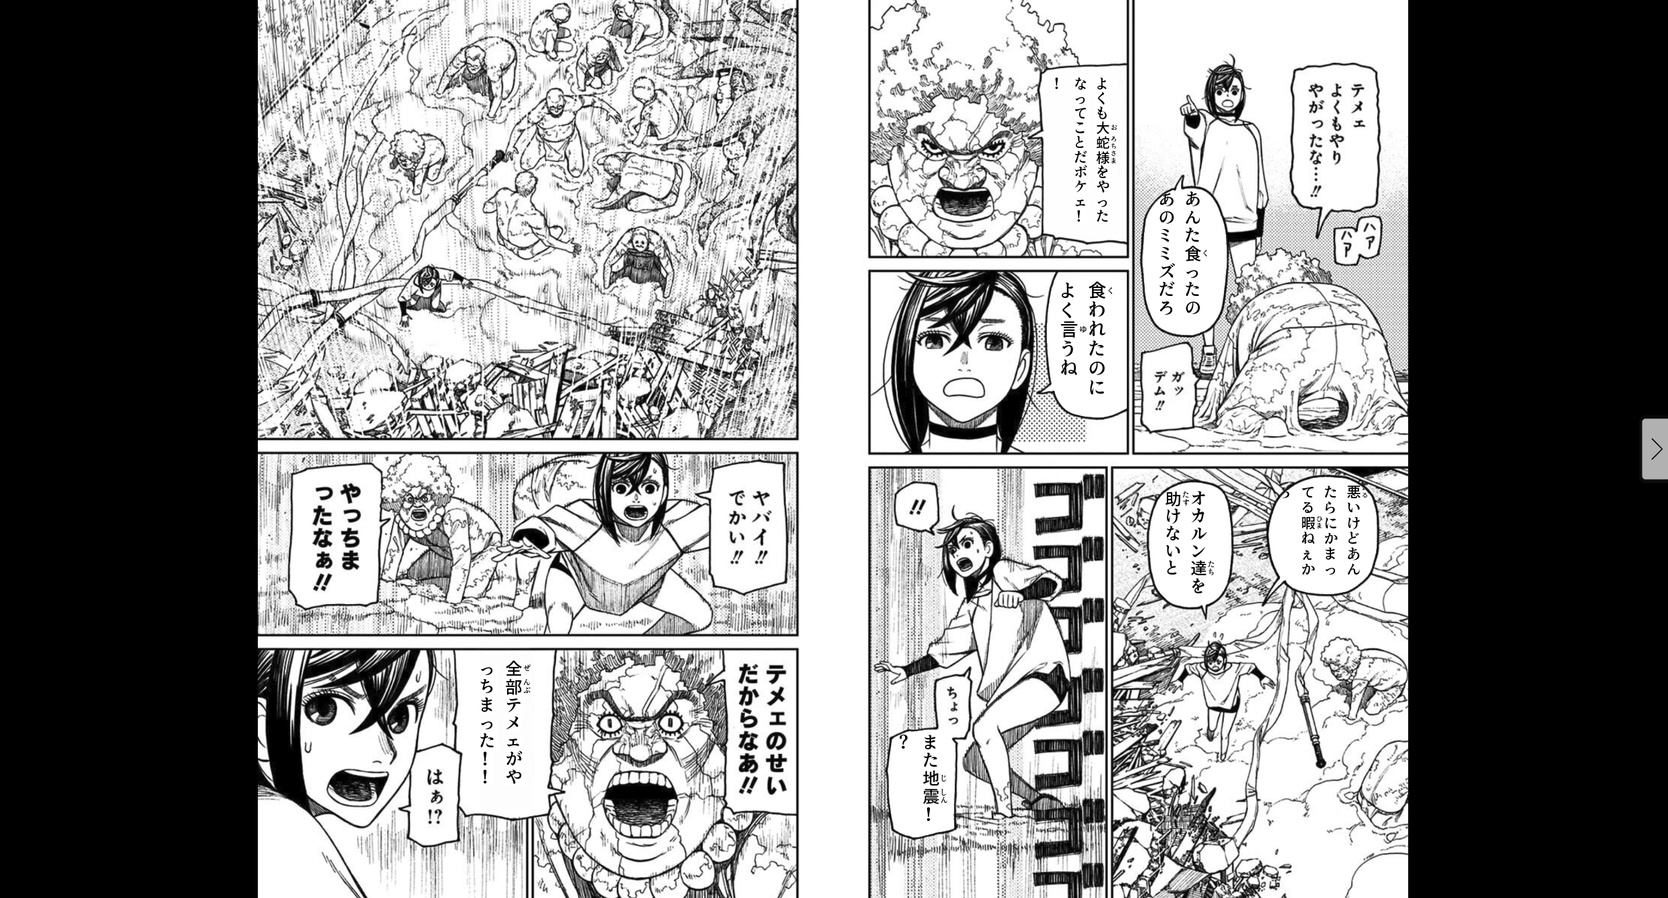
I have a huge collection of manga bought on Amazon.co.jp that I read through Kindle web. Shounen manga normally has furigana — that small text in hiragana next to the kanji — that helps me read, because, despite having studied Japanese, I was never formally trained. But manga aimed at adult audiences (seinen, not porn) usually comes without furigana. It’s pure kanji and my reading speed crawls.
For years I’ve wanted a tool that solves this. The idea is simple: detect the speech bubbles on a manga page, extract the text with OCR, and either add furigana to the kanji, or translate directly to English and render it back into the bubble. Sounds easy, right?
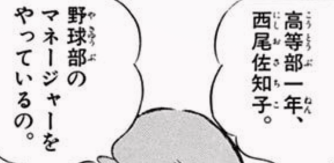
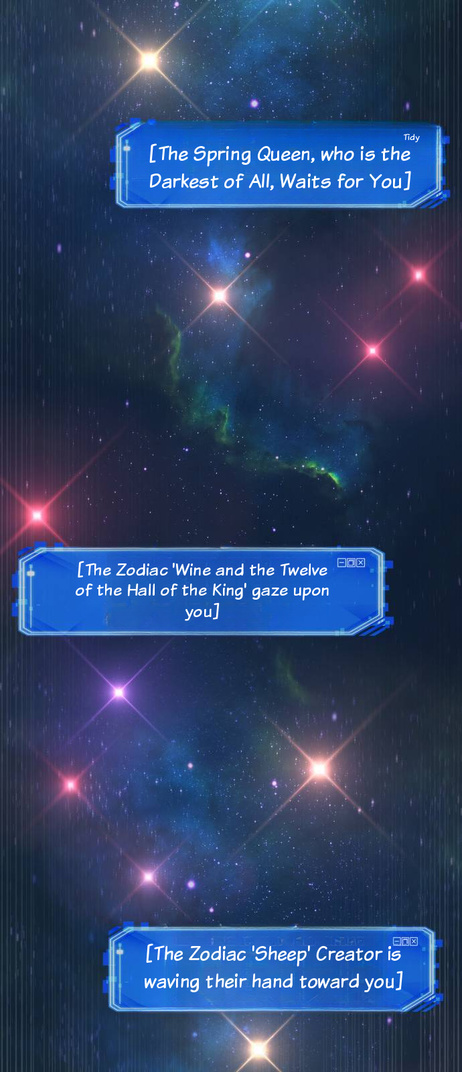
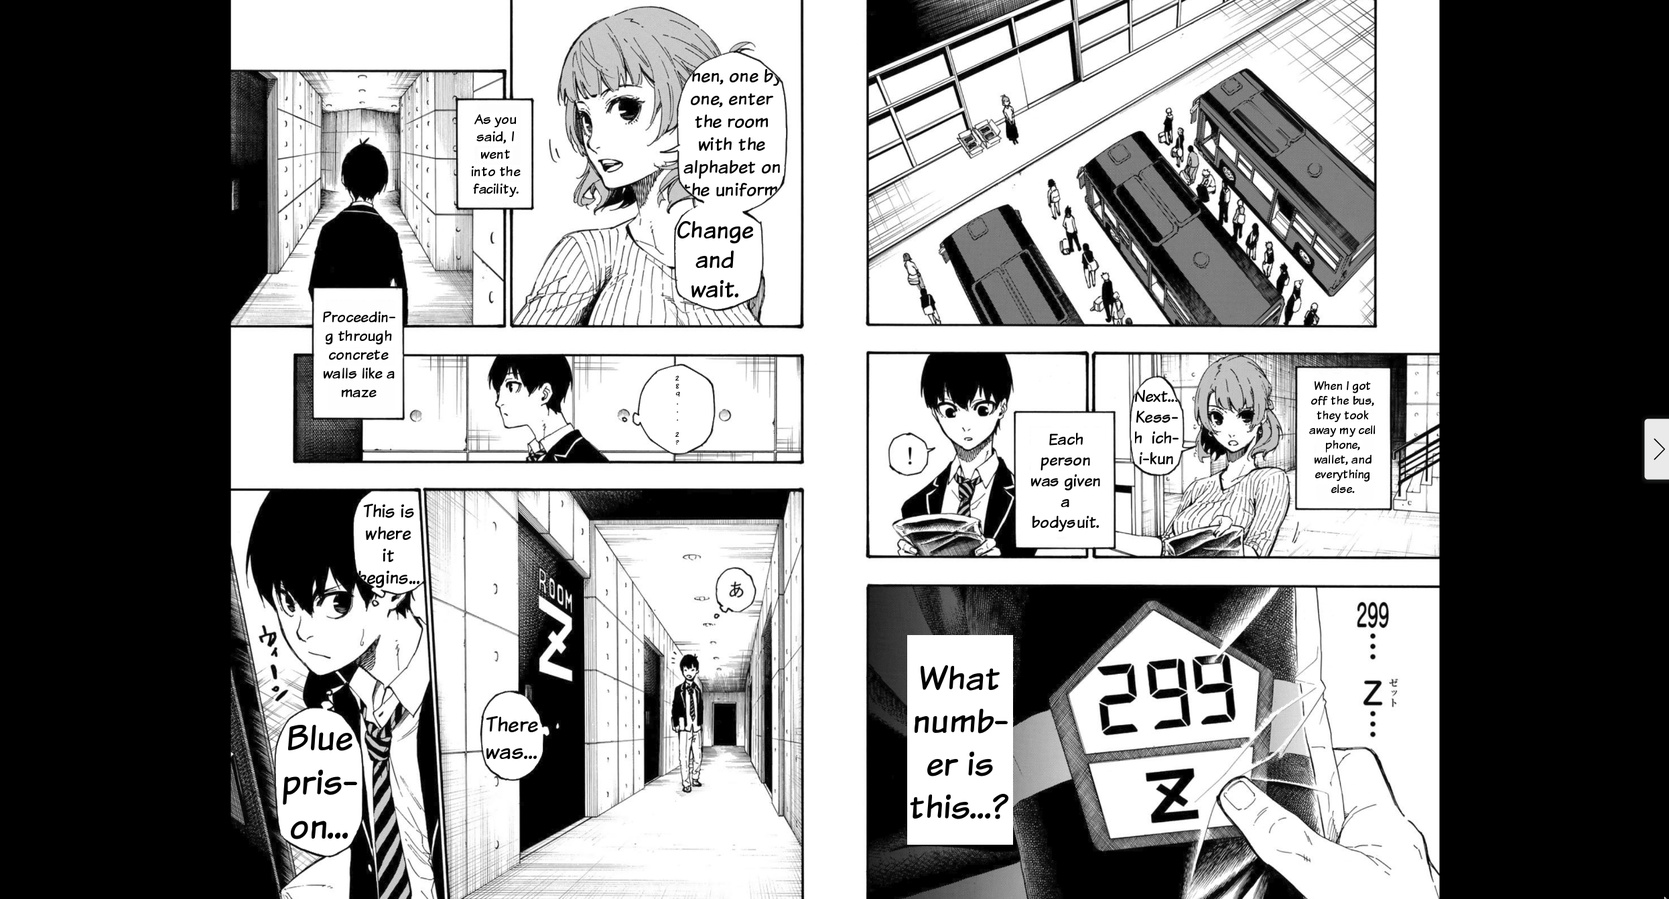
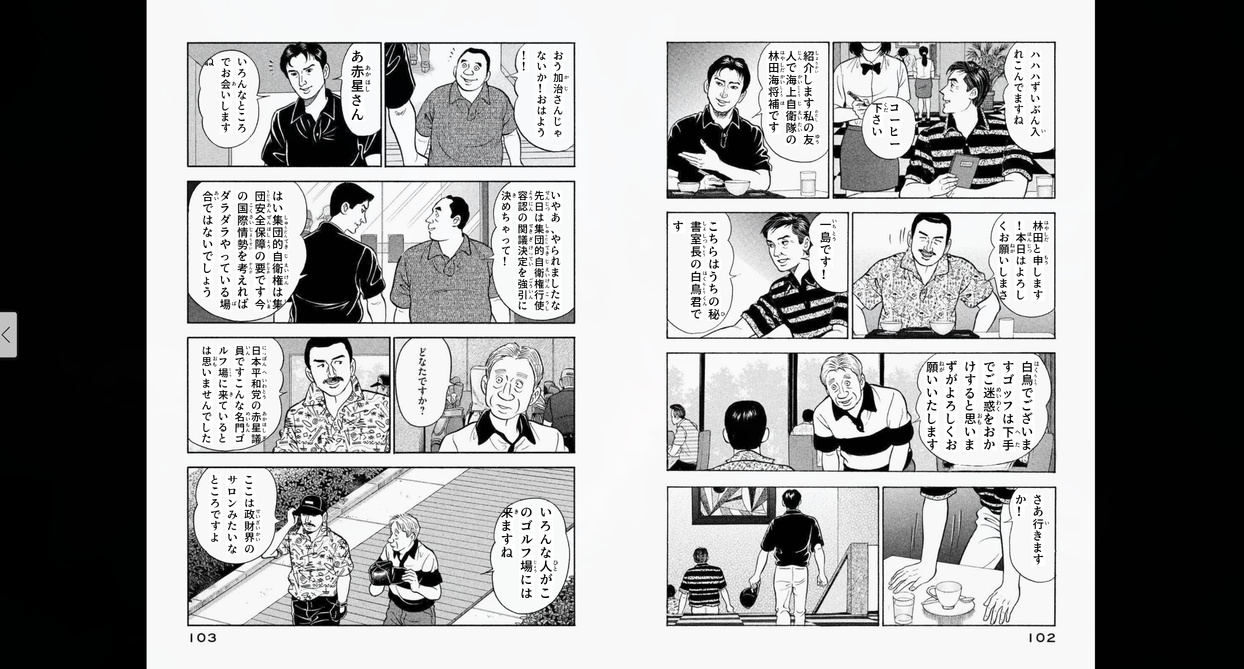
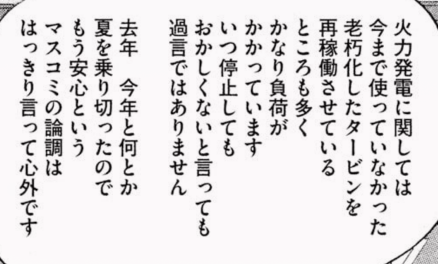 (kanji with no caption/furigana)
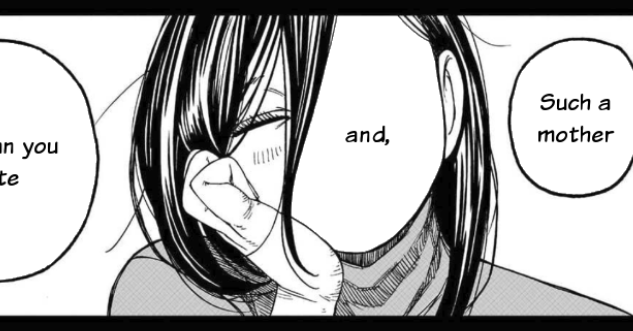
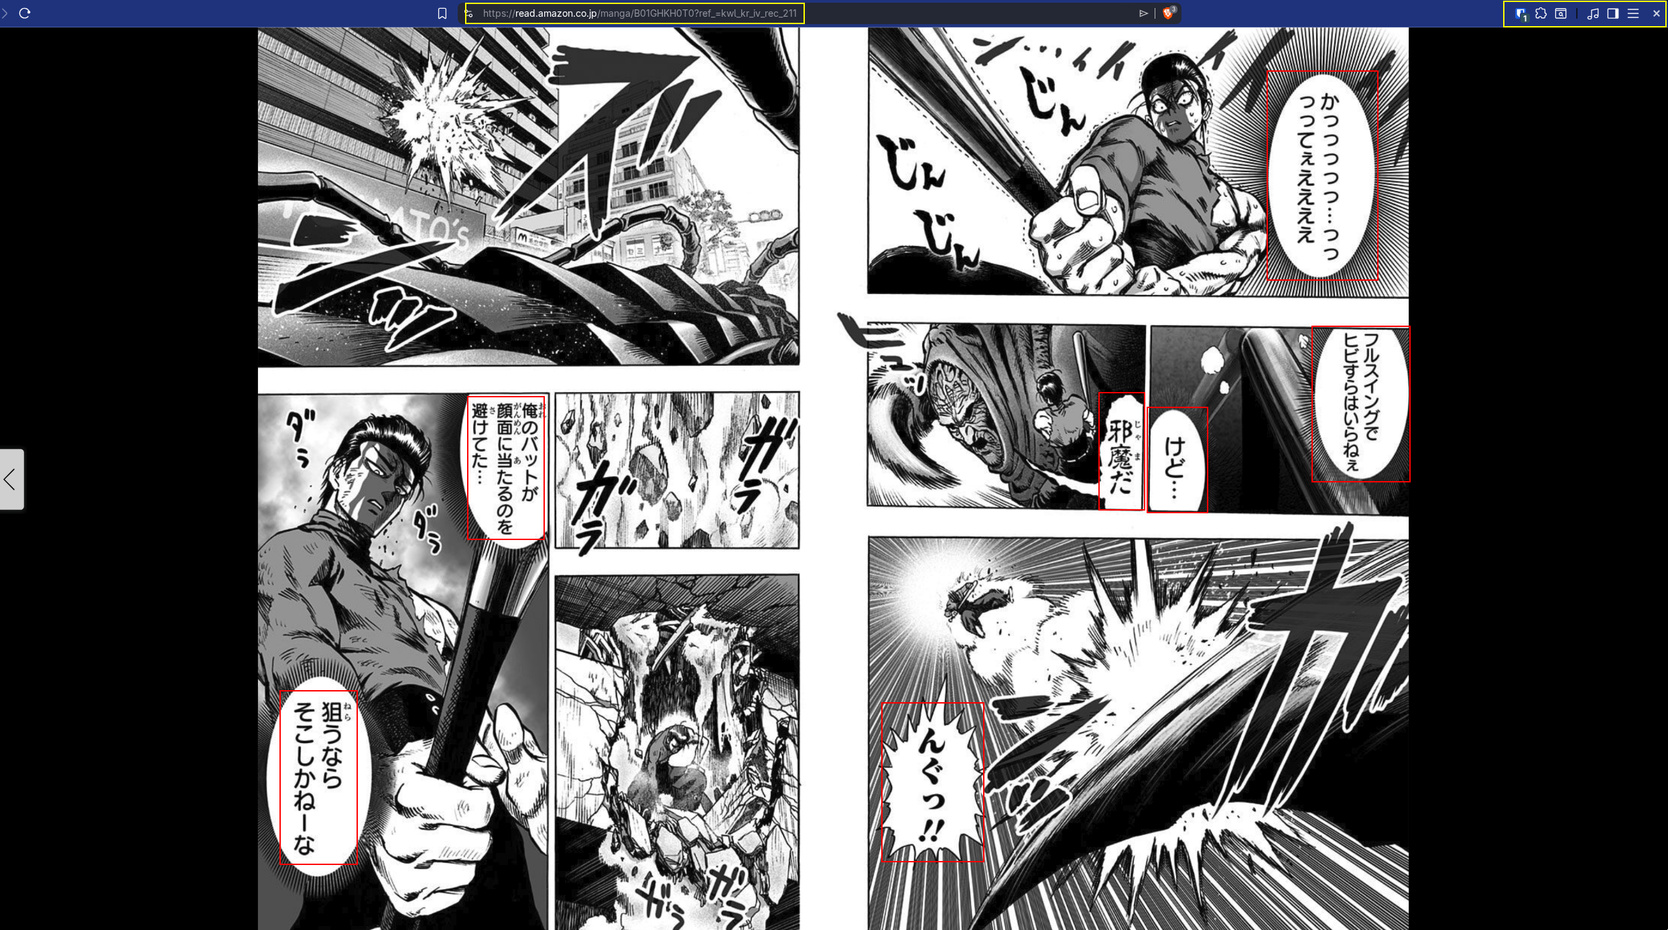
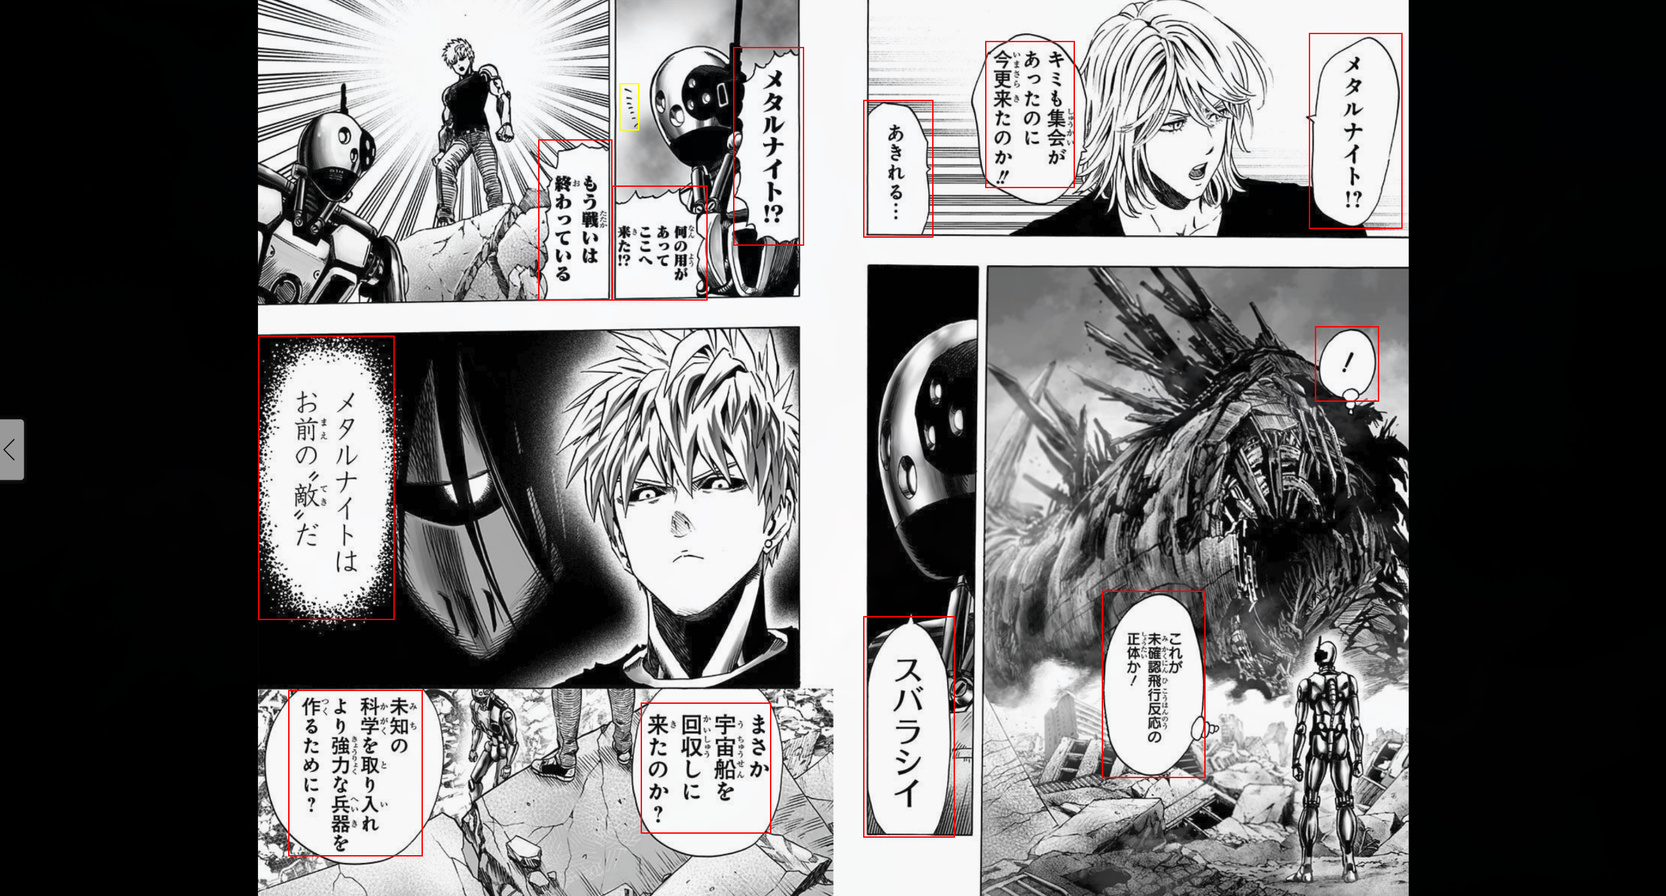
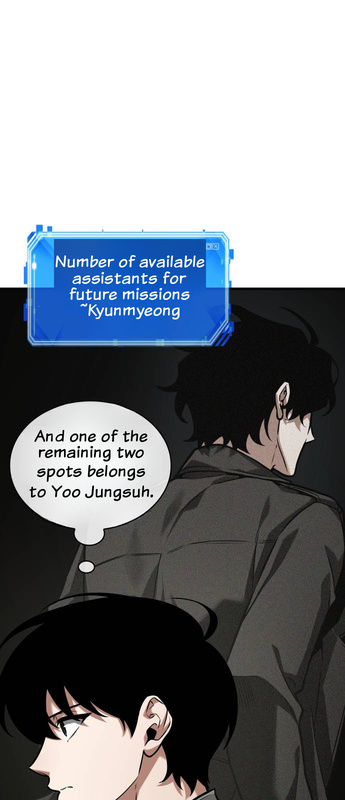
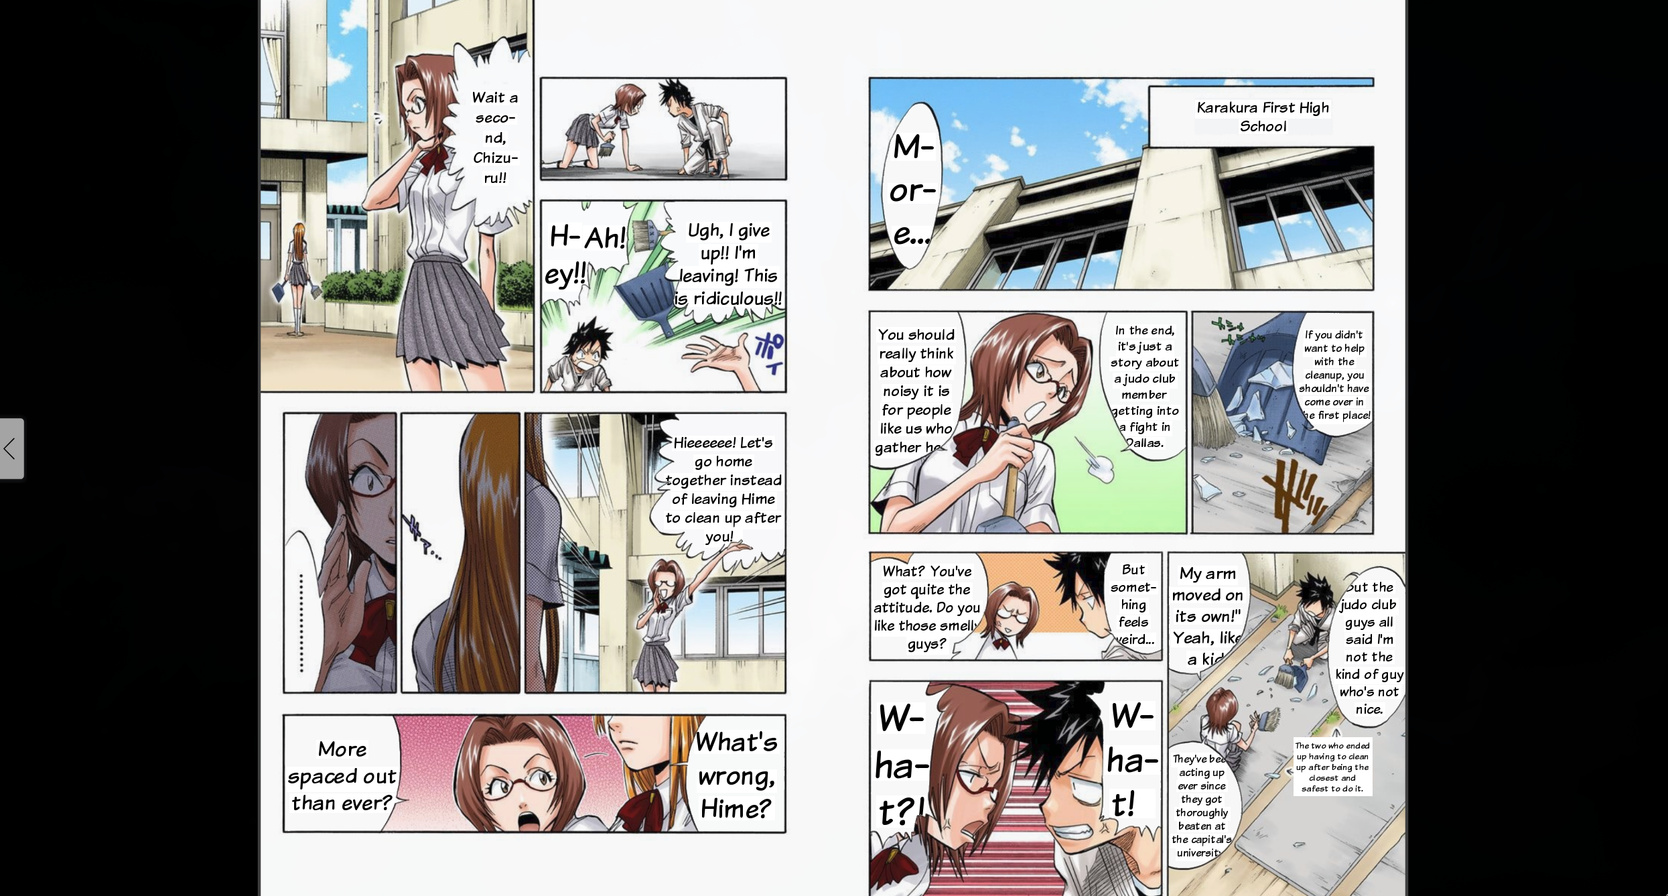
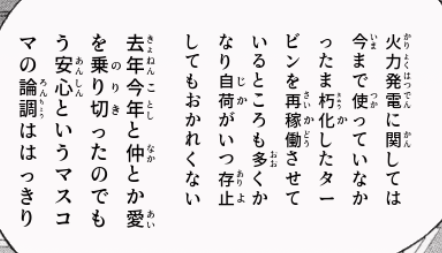 (with furigana injected in real time)
Yeah, it sounded easy. And because I knew it sounded easy but wouldn’t be, I never had the patience to actually do it. I know how to build the first 80% of any project. The problem is the last 20% — that phase of experimentation, tweaking, fine-tuning, handling edge cases — that consumes more time than all the rest combined. And in a computer vision project, that 20% is especially treacherous.
But then the vibe coding era arrived. And I thought: maybe now the 20% is feasible. I started the project on February 24, 2026, at 23:10 at night. And it became an example of how easy it is to produce massive volumes of useless code.
The original idea: OpenCV and heuristics
My original plan — the concept I’d imagined for years — was: use OpenCV — which is a famous and old computer vision library — to detect the speech bubbles. Manga bubbles are typically white areas with a black contour inside the panels. In theory, you just threshold the image to grab white regions, find contours, filter by size and shape, and you’re done.
In 24 hours I already had a working proof of concept: bubble detection, OCR with manga-ocr (a model trained specifically on Japanese manga text), furigana with MeCab for morphological analysis, translation with Ollama running Qwen3:14b locally, and rendering the text back into the bubble. The initial commit (9169d73) on Feb 24 already did all of that.
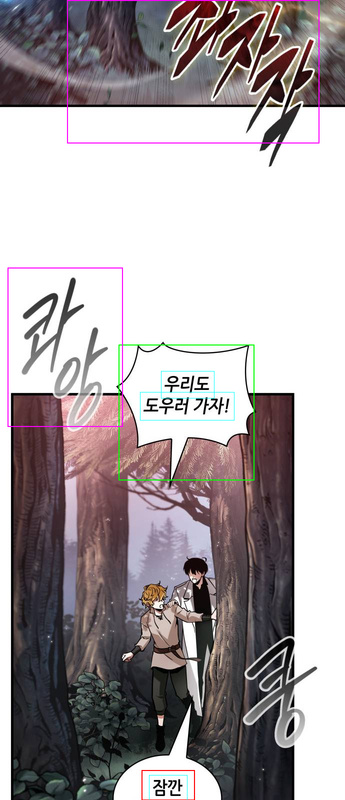
The next day, Feb 25, I was already extending the pipeline with a Korean webtoon translation flow. 27 commits that day. Everything seemed to be flowing.
And then the hell started.
The hell of false positives
The problem with OpenCV bubble detection is that manga isn’t a standardized document. Every artist has their own line, scan quality varies enormously between print eras, and color pages need completely different parameters from black-and-white pages. And the thing that looks the most like a white speech bubble on a manga page is… a face.
Character faces are light areas, relatively rounded, with a dark contour. Exactly like speech bubbles. And no matter how many filters you stack, there’s always a case where the face of a character with blue hair sails through every filter, or where a legitimate bubble gets rejected because it has an unusual shape.
Look at how my bubble detector ended up at peak complexity — 551 lines with 7 layers of false-positive filters (abridged version):
# --- False positive filters ---

# 1. Edge density
edge_pixels = cv2.countNonZero(cv2.bitwise_and(edges, edges, mask=mask))
edge_density = edge_pixels / area
if edge_density > max_edge_density:
    continue

# 2. Bright pixel ratio
bright_pixels = cv2.countNonZero(cv2.bitwise_and(bright_thresh, mask))
bright_ratio = bright_pixels / area
if bright_ratio < min_bright_ratio:
    continue

# 3. Mid-tone ratio
mid_mask = cv2.inRange(gray, 80, 220)
mid_pixels = cv2.countNonZero(cv2.bitwise_and(mid_mask, mask))
mid_ratio = mid_pixels / area
if mid_ratio > max_mid_ratio:
    continue

# 4. Contour circularity
circularity = 4 * np.pi * area / (perimeter * perimeter)
if circularity < 0.10:
    continue

# 5. Border darkness
border_mean = cv2.mean(gray, mask=border_only)[0]
if border_mean > 160:
    continue

# 6. Background uniformity (white_std)
white_pixels = gray[(mask > 0) & (gray > 200)]
if float(np.std(white_pixels)) > 15:
    continue

# 7. Dark content analysis (text strokes)
very_dark = np.sum((inner_mask > 0) & (gray < 60))
dark_ratio_60 = very_dark / inner_area
if dark_ratio_60 < min_dark_ratio:
    continue
Each one of those filters was added in response to a specific false positive. Edge density separated bubbles (which have sparse text strokes) from faces (which have hair, eyes, nose creating dense edges). Bright pixel ratio checked whether the region was actually white. Circularity discarded shapes that were too irregular. And so on.
But the worst part is that those filters interacted with each other in unpredictable ways. Look at this commit from Feb 26 (70c814a):
“Revert rect_dark, mid_ratio, and early-split changes that caused face FPs”
I had tried to relax two thresholds — rect_dark from 0.10 to 0.11, mid_ratio from 0.15 to 0.16 — to recover bubbles that were being missed. Result: faces and body regions started passing as false positives in Adachi manga. I had to revert everything.
That’s the pattern that repeated for days: recovering a missed bubble meant opening the door for false positives. Fixing a false positive meant losing a legitimate bubble. It was infinite whack-a-mole.
The band-aids: CLAHE, edge detection, watershed
When the 7 basic filters weren’t enough, I started stacking additional passes.
Commit 294e785 (Feb 26): added CLAHE (Contrast Limited Adaptive Histogram Equalization) as a second detection pass. Bubbles with mid-range brightness, near the 200 threshold, were being missed. CLAHE equalized the contrast and revealed those borderline bubbles.
But CLAHE also made faces pass through the filters because it artificially inflated skin brightness. So I had to add an entire validation function against the original image:
def _validate_on_original(candidate, gray_orig):
    """Check if a CLAHE-detected candidate looks bubble-like on original."""
    roi = gray_orig[y1:y2, x1:x2]
    mean_brightness = roi.mean()

    # Already bright enough for pass 1 — rejected for good reason
    if mean_brightness > 215:
        return False

    # Must have text strokes (dark pixels)
    dark_ratio = np.sum(roi < 60) / roi.size
    if dark_ratio < 0.07:
        return False

    # White pixel variance: text creates high std, face skin is uniform
    white_pixels = roi[roi > 200]
    if len(white_pixels) > 50:
        if float(np.std(white_pixels)) < 9:
            return False

    return True
Commit 5dddb31 (March 1): added an entire third detection pass based on edges (edge-based segmentation). To catch bubbles where the white interior blended into the white background of the page. Dilated the Canny edges, inverted, did an AND with bright regions, and looked for contours in the result.
Commit b695295 (Feb 26): added recovery of small bubbles via morphological gradient + OCR validation. If OCR confirmed there was valid Japanese text in the region, it was probably a real bubble.
Each band-aid added 50-100 lines of code and another layer of complexity. And each one had its own edge cases and false positives.
The final tally for v0.1
On March 1, I tagged v0.1. At that point I had:
- 90 commits in 6 days of development (Feb 24 to March 1)
- 551 lines in
bubble_detector.pyalone - 7 layers of false-positive filters, each with empirical thresholds
- Two complete detection passes (original + CLAHE)
- A third edge-based pass
- Cross-validation against the original image
- Watershed separation for overlapping bubbles
- Separate threshold profiles for color vs black-and-white pages
- 20+ magic numbers tuned empirically against a limited sample of pages
- Regression tests pinning each specific false positive (face of a girl with blue hair, window frame, thin horizontal strip, concrete floor…)
And even with all that, it still wasn’t reliable. Every new manga I tested revealed some little case that broke the detector. It was an extremely brittle monolith.
SYMPTOM: you’re patching a fix that fixed another fix that was fixing yet another fix, and when you touch one piece, you accidentally break another: that means the code is brittle, a house of cards about to collapse. That’s the moment to give up and rethink!
The decision: research alternatives
At v0.1 I stopped and asked the question I should have asked at the start: is there someone who already trained an ML model to do exactly this?
I asked Claude to research available models for comic bubble detection. The research produced the document docs/yolo_bubble_detection_plan.md, where we analyzed the alternatives.
The first one that came up was a YOLOv8 Medium from ogkalu (comic-speech-bubble-detector-yolov8m), trained on ~8,000 images of manga, webtoon, manhua and Western comics. It detects only one class (speech bubble). But digging deeper, we found another model from the same author: ogkalu/comic-text-and-bubble-detector, an RT-DETR-v2 with a ResNet-50-vd backbone (42.9M parameters), trained on ~11,000 images, with three classes: bubble, text_bubble and text_free. Both Apache 2.0.
We also evaluated the comic-text-detector (DBNet + YOLOv5, ~13,000 images from Manga109), but that one detected text regions and not bubbles. And as future training data, there was Roboflow with 4,492 already-labeled images, and the Manga109 dataset with 147,918 annotations across 21,142 pages.
The RT-DETR-v2 with 3 classes was the most promising because it distinguished speech bubbles, text inside bubbles and free text (narration, SFX). It could replace both bubble_detector.py and text_detector.py in a single inference pass.
The conclusion of the research document was direct:
“Even without fine-tuning, these models were trained on 8 to 11 thousand images of diverse comics. They should handle the artistic style diversity that our manual filters struggle with. The 7-filter heuristic cascade and its magic numbers would be completely eliminated.”
And if it weren’t enough, we included a fine-tuning plan using paired data (original Japanese pages vs English fan translations) that generated labels automatically through image diff. But first we wanted to test the baseline.
Replacing everything: RT-DETR-v2
On March 4, I made commit 0df63f2: “Replace OpenCV heuristic detection with RT-DETR-v2, add bubble shape masking”.
The diff speaks for itself:
16 files changed, 732 insertions(+), 1112 deletions(-)1,112 lines deleted. More lines removed than added. The 551-line bubble detector was replaced by 262 lines — and most of those are shape mask extraction (contour mask) from the detected bbox, not the detection itself.
The detection core became this:
MODEL_ID = "ogkalu/comic-text-and-bubble-detector"
DEFAULT_CONFIDENCE = 0.35

def detect_bubbles(img_cv, confidence=DEFAULT_CONFIDENCE):
    model, processor, device = _get_model()
    img_pil = Image.fromarray(img_cv[:, :, ::-1])  # BGR→RGB
    inputs = processor(images=img_pil, return_tensors="pt").to(device)

    with torch.no_grad():
        outputs = model(**inputs)

    results = processor.post_process_object_detection(
        outputs, target_sizes=target_sizes, threshold=confidence
    )
    # ... map classes, deduplicate, sort
No magic thresholds. No separate profiles for color vs B&W. No CLAHE. No edge detection. No watershed. No 7 filter layers. A model trained on 11,000 diverse comic images already knows how to tell a bubble from a face better than my pile of “ifs.”
What also vanished alongside it:
- The entire
text_detector.py(387 lines) — replaced by RT-DETR’stext_freeclass - The false-positive feedback system — RT-DETR detections are reliable enough to not need manual marking
- Hundreds of lines of regression tests pinning specific false positives
In the end, I didn’t even need to try fine-tuning my own model. The model that already existed solved more than 99% of the cases, which for me was already excellent.
People who don’t understand statistics struggle with this. With my “manual” OpenCV procedure I was already getting 80%, maybe more. But that’s very little. If on every page a face gets a bubble slapped on top of it, that’s terrible.
Even if with a lot of effort (another five hundred different “ifs”) I could get to 95%, that’s still not enough. Reaching 80% is easy. The last 20% costs exponentially more, and the last 1% can be impossible in many cases. That’s how things work. Everyone stops at 80%.
The other pains: Flutter on Linux
While the Python and Go backend was relatively stable, the Flutter client on Linux was a separate chapter of suffering.
Flutter uses WebKitGTK for the WebView on Linux, and that component has painful particularities. Commit 8e5d168 (Feb 28) tells the story: WebKitGTK can’t resolve Promise return values from asynchronous JavaScript, generating a PlatformException. I had to rewrite all the overlays as synchronous IIFEs with decode().then() and an opacity: 0.999 nudge to force a texture refresh in the GPU compositor.
On my NVIDIA + Wayland setup, the WebView was unusable at full resolution. Commit a36e1eb (Feb 27) tried to fix it by forcing CPU rendering with WEBKIT_SKIA_ENABLE_CPU_RENDERING=1 and disabling accelerated compositing. Then I had to revert that (commit 8e5d168) and force the AMD iGPU’s Mesa via __EGL_VENDOR_LIBRARY_FILENAMES to stop WebKitGTK from grabbing the NVIDIA dGPU.
Each one of those discoveries cost hours of debugging things that simply had no documentation. In the end I got the Linux version to a reasonable state, but it’s nothing spectacular. I don’t know if I’m missing something obvious, but Flutter on Linux I found to be a drag, especially right after building a native app with Rust/Tauri (much better). But since I wanted an app that worked on Linux and Android, there weren’t that many options.
The Kindle prefetch that died
An idea that seemed brilliant and went wrong: create a second hidden WebView in Flutter that shared cookies/session with the main WebView and kept navigating pages ahead to pre-process them.
The reason is that the Kindle website only loads one page at a time. It doesn’t load everything at once or in chunks, just one page. So you can’t process pages forward or backward. When the server was still slow at processing pages, I wanted to keep everything pre-cached, so when the user turned the page the translation was already there.
Commit a36e1eb (Feb 27) implemented the entire KindlePrefetchManager: 406 lines of Dart, with batched prefetch (3 pages ahead), trusted GDK events for turning the page (isTrusted=true), rate limiting with human pacing, a window with sensitive=FALSE so it wouldn’t steal focus.
In the following days, the fixes piled up:
cfe08eb: improve prefetch reliability and overlay matching4461b5f: harden overlay selection and Kindle recoveryf141b2e: stop destroying the background webview on every page turn
And in the end (commit 2b93e99, March 4), I deleted everything. 657 lines removed, replaced by a simple spinner in the toolbar.
With the move to the RT-DETR model, and parallelizing the bubble translation, the translation became “almost real-time,” loading in less than 10 seconds, so it’s no longer such a big deal to wait for a page to come in, and you can ask one at a time. The prefetch added too much complexity for marginal gain, and the right way to solve it was simply to process the page on demand with proper visual feedback.
The numbers
In total, the Frank Yomik project today has:
- 111 commits across 9 days of development (with a 2-day break in the middle)
- 29,428 lines of code in 181 files
- ~13K lines of Python (processing pipeline + worker)
- ~6K lines of Dart (Flutter client)
- ~3.4K lines of Go (API server)
- 345 unit tests + 34 integration tests
- Support for Japanese manga (Kindle) and Korean webtoons (Naver/Webtoons)
The pipeline today works like this:
- The Flutter client (Android or Linux desktop) opens the Kindle or Webtoons site in a WebView
- Captures the page image (capturing the image blob on the Kindle page, fetching the
<img>for webtoons) - Sends it to the Go API which queues it on Redis Streams with SHA256-based dedup
- Python worker processes: RT-DETR-v2 detects bubbles → manga-ocr or EasyOCR extracts text → Ollama qwen3:14b translates → text_renderer renders back into the image
- Result comes back over WebSocket, the overlay replaces the original image
For furigana: fugashi (a MeCab wrapper) does morphological analysis and generates the hiragana reading for each kanji. I switched from pykakasi to fugashi because pykakasi doesn’t consider sentence context (「人」 became にん instead of ひと).
If I knew then what I know now — that the RT-DETR-v2 model already existed and solved the detection problem with a confidence threshold — I would have eliminated the entire OpenCV phase. The OCR, translation, rendering and Flutter parts were already reasonably stable. Detection was the bottleneck, and it was exactly the part I could have saved myself, if I’d given up sooner.
What I learned by failing
I spent 5 days polishing an OpenCV bubble detector that had 20+ tuning commits, 7 filter layers, 3 detection passes, and that in the end was replaced by a 50-line wrapper around a pretrained model.
It was 1,112 lines deleted in a single commit. But it wasn’t wasted time. Those 5 days taught me exactly why heuristics fail in computer vision. I understood the problem, the cascade where touching one threshold breaks another, and it was that understanding that made me recognize when to stop and research alternatives.
And here’s where the real role of vibe coding in this story comes in.
Prompting doesn’t replace thinking.
I generated code very fast with Claude, but the problem wasn’t writing speed, it was the approach. No prompt in the world turns 7 layers of heuristic filters into a robust solution. The right solution was to change the approach completely.
But vibe coding made the failure cheap. In the pre-AI days, those 5 days of OpenCV would have been maybe 2-3 weeks. The cost of being wrong would have been high enough to make the decision to throw it out really hard. With vibe coding, 5 days were discarded without pain because I knew I could rebuild fast. And in fact, the RT-DETR-v2 integration and the restructuring of the entire project were done in a single day (March 4, 15 commits).
The question that remains: if I had done the yolo_bubble_detection_plan.md research on day 1 instead of day 5, I’d probably have reached the current state in 2 days. The difference between weeks of work and a weekend was a HuggingFace search. Researching before implementing seems obvious in hindsight, but in the heat of the moment the temptation to solve it by hand is strong.
The project is now open source. I initially didn’t know if I wanted to open the code, there was a lot of kludge and that 551-line detector that I was embarrassed about. But after the refactoring, the code became clean enough to share. It’s the version I would have liked to have built from the start, but that I could only build because I screwed up first.
The bigger headache was the bubble detection and replacement model, but there are several other points I didn’t detail: did you notice that webtoons are colored and the bubbles themselves have art? I had to use an image model to do in-painting and have the AI redraw the bubble before placing the text on top.
Another headache I don’t think I’ll solve: translation coherence. Today it translates each bubble in isolation, with no context of the story before or after. In Japanese, there’s no gender distinction in words. So the captain was talking about Nami, but the bubble says “He” instead of “She.” There’s no way to know without reading the previous text. For this to work better, like in a GPT chat, you have to add part of the previous text to know when to use the correct gender or, worse, when there are puns that appeared volumes ago and are referenced in the future (something an Oda loves to do). All those subtleties get lost if you only translate one bubble at a time.
I imagine that’s why nobody has done something like this yet, translating in near real time, because for it to really be good, the translation work would be exponential for each chapter further along in the story.
Anyway, the name Frank Yomik comes from “yomi” (読み, reading in Japanese) and “ik-da” (읽다, to read in Korean). Frank is a nod to a frank, direct translation. The app reads in both languages.

For anyone who wants to try it: the repository is on GitHub. The server needs a GPU with at least 8GB of VRAM for the detection model + OCR + translation. The Flutter client runs on Android and Linux desktop. And if you, like me, have a stack of Japanese manga you’d like to read more fluently — now you can.